

I planted my seeds about a week ago. Which is a tad too early but 1. I was excited and 2. I figured I would want the extra time to re-plant any that fail to germinate.
This was my first time using a seed tray and even though it's a super simple process, I've already learned a few lessons. Which I will obviously share so y'all don't make my silly mistakes.
These can be purchased anywhere. Garden centers, seed catalogs, and even Wally World. I chose the small pots but might upgrade to the next size larger next year. We'll see how things progress.

This is how tiny the hard little soil pots are when you start. The directions tell you to add warm water. I didn't the first time. But did the second time. You should do it every time. Ha! They will expand just fine if you use cold water, but they will do it in about 25% of the time if you use warm.

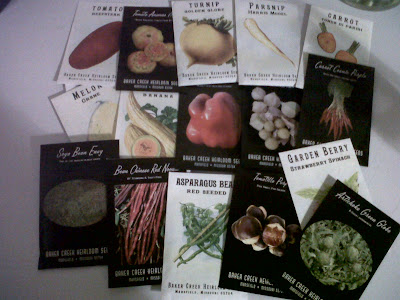
Most of my seeds were purchased from Baker Creek. They have an amazing selection of rare, heirloom seeds and all are non-GMO. I ordered lots of weird things that I've never even tasted because I thought they sounded fun. Hopefully they grow and taste fun too!
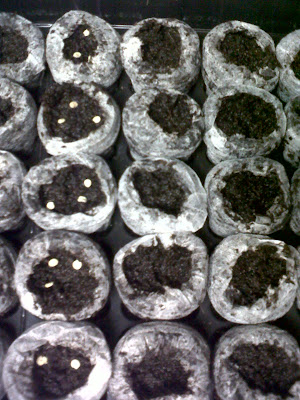
To plant seeds, you need to loosen the soil pots with your fingers. You can see in the photo below that the pots on the right are wrapped rather tight. And on the left, they have been loosened with my fingers. Add a few seeds to each pot and cover with the soil. Once the seeds germinate and sprout, you will then need to thin (the hardest part of gardening if you ask me).
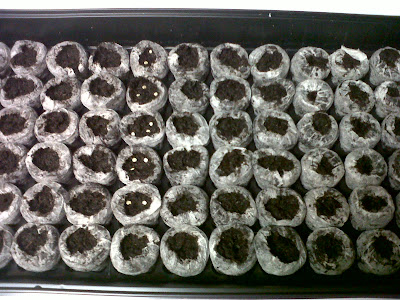
Be sure to label your seed tray. I took tan packing tape and wrote down the name of the seeds in each row and then added that tape label to the front. It's easy to read this way. I also have it down on paper in case ... well I don't know ... the tape labels aren't likely to pop off ... but I have it down on paper anyway.
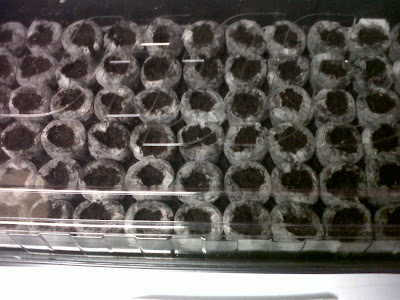
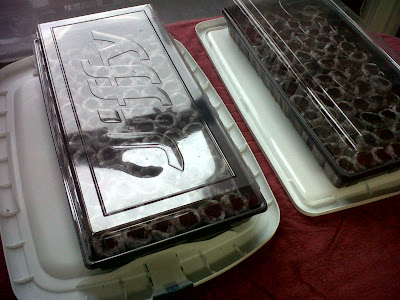
Then I put the domes on the trays. And this is where things took a turn a few days later. I will do a follow up post shortly but if you are starting seed trays, trust me, do not use the domes. Just don't!
And then placed my trays on top of plastic box lids and on top of a towel and on top of my grandmother's antique dining room table in front of the sunniest window I have in my home. Next year I will invest in grow lights and a better set up but I decided to start small this year. Another reason I justified starting my seeds so early (I'm zone 5b by the way)- no grow lights might make this process take a bit longer.
Seeds can take up to two weeks to germinate. But I already have about 20% germination after one week. Broccoli, kohlrabi, Brussels sprouts and artichokes are the front runners. Crossing my fingers my tomatoes and peppers pop out soon too.
The fun thing about seeds is that you can see no growth in the morning and by dinner time, there might be a little green sprout. This stage all happens very quickly. I love checking them first thing in the morning. I mean, it's really getting bizarre because I just stand there staring at them. Almost willing them to grow.
I know ... I have a problem. But I also have big dreams of big tomatoes this summer! I just love the idea of growing food.
3 comments:
Oh FUN!! I've never heard of Baker Creek, will check them out!! Thanks for posting this, I love gardening and you've inspired me to get going with some plans. Happy tomato dreams!!
We started ours last week and the tomatoes are growing like crazy!
My problem is the chipmunks eat the tomatoes as they are just about to turn. Drives me nuts!
Post a Comment